对系统参数调整:
对test11,test12,test13服务器系统参数调整,如下:
vim /etc/security/limits.conf                   #在最后添加如下参数
* soft nofile 65536

* hard nofile 65536

* soft nproc 65536

* hard nproc 65536
vim /etc/security/limits.d/20-nproc.conf        #在最后添加如下参数,如果存在就不需要添加
*          soft    nproc     4096
root       soft    nproc     unlimited
vim /etc/sysctl.conf                            #在最后添加如下参数
vm.max_map_count = 655360
fs.file-max=655360

sysctl -p                                       #使用系统参数生效,要确保生效的应该重启一下系统
reboot                                          #重启系统
安装Elasticsearch
在test11,test12,test13服务器上进行如下操作:
[root@test11 ~]#useradd els
[root@test11 ~]#su - els
[els@test11 ~]$tar -zxf elasticsearch-7.3.1-linux-x86_64.tar.gz       #把下载的软件包解压到此目录下
#-----------修改es的配置文件----------------------
[els@test11 ~]$ vim elasticsearch-7.3.1/config/elasticsearch.yml
cluster.name: els_cluster           #设置集群名称
node.name: node-1                   #设置节点名称,test12,13服务器分别定义为node-2,node-3
node.attr.rack: r1                  #值可以自定义,设置这个值后可以使一个分片和它的副本不会分配到同样rack_id值的节点上
node.master: true                   #默认都是true的,控制这个节点是否可以成为master节点
node.data: false                    #默认都是true的
network.host: 192.168.37.11         #设置本机服务器ip地址,test12,13服务器设置成自己服务器的ip
#http.port: 9200                    #默认绑定的端口号,不修改也可以
discovery.seed_hosts: ["192.168.37.11", "192.168.37.12","192.168.37.13"] #配置集群的主机地址,配置之后集群的主机之间可以自动发现
cluster.initial_master_nodes: ["node-1", "node-2"]        #手动指定可以成为 mater 的所有节点的 name 或者 ip,这些配置将会在第一次选举中进行计算
gateway.recover_after_nodes: 2      #设置在有2个节点后进行数据恢复

#----------在上面3台服务器上修改jvm参数-------------
[els@test11 ~]$ vim elasticsearch-7.3.1/config/jvm.options
-Xms1g              #默认为1g,按照服务器物理内存适当调整大,毕竟es是比较耗内存的,我们生产环境是调整到30g
-Xmx1g              #默认为1g,按照服务器物理内存适当调整大,毕竟es是比较耗内存的,我们生产环境是调整到30g

#----------在上面3台服务器上启动es-------------------
[els@test11 ~]$ nohup elasticsearch-7.3.1/bin/elasticsearch &
查看es是否安装成功,在浏览器中输入:ip:9200, 如果出现下面提示即证明安装成功
{
  "name" : "node-1",
  "cluster_name" : "els_cluster",
  "cluster_uuid" : "VDwsgeQzSSmEGWdsJAxklg",
  "version" : {
    "number" : "7.3.1",
    "build_flavor" : "default",
    "build_type" : "tar",
    "build_hash" : "4749ba6",
    "build_date" : "2019-08-19T20:19:25.651794Z",
    "build_snapshot" : false,
    "lucene_version" : "8.1.0",
    "minimum_wire_compatibility_version" : "6.8.0",
    "minimum_index_compatibility_version" : "6.0.0-beta1"
  },
  "tagline" : "You Know, for Search"
}
安装集群监控工具Cerebro
github地址:https://github.com/lmenezes/cerebro
下载安装包地址: https://github.com/lmenezes/cerebro/releases
解压安装包:[root@test11 cerebro-0.8.4]# tar zxf cerebro-0.8.4.tgz
运行cerebro:[root@test11 tools]# nohup cerebro-0.8.4/bin/cerebro &
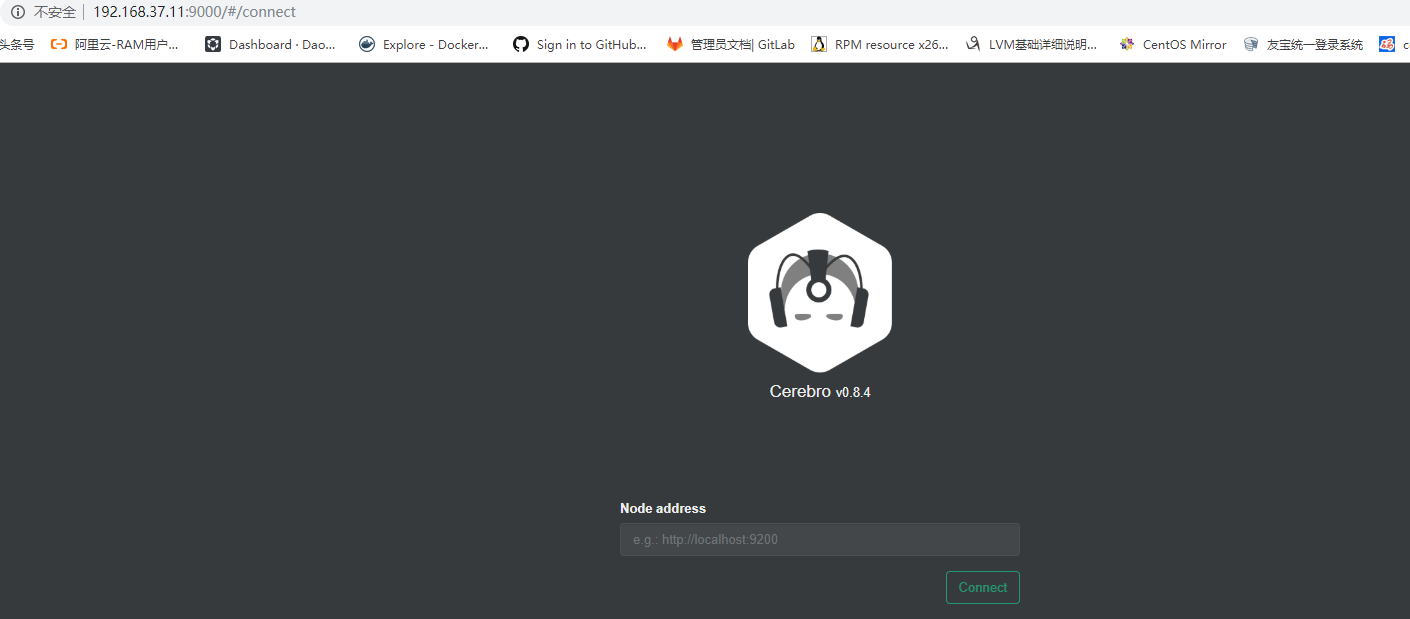
登录cerebro:http://192.168.37.11:9000 ,界面如下:
登录后我们点nodes,可以看到现在master节点为node-2,如下:
这时我们再测试把es的master节点node-2关闭,验证一下集群有没把master节点转移到node-1上:
文档更新时间: 2019-08-28 16:20 作者:子木
